So yesterday was the start of work on the forward bulkhead. This structure will play many parts in the boat. One, it's structural, it will add a large amount of stiffness to the hull. Two, all of the electrical distribution and management (except for the batteries and chargers) will happen here. Three, it obviously defines the separation between the cuddy and the main cabin. Four, it defines the transition between straight part of the sides and the curve of the sides forward.
The building of the bulkhead differs little from the flotation tank and rope locker; build a jig, cut patterns and transfer to the plywood for cutting. The jig in this case was a piece of plywood screwed to a 2x4, then screwed to the stringers.

Now this work was being done between trips outside to clear the falling snow. Three times to sweep off the shed and twice to clear the driveway. I think we got somewhere around nine inches for the day. Ironically enough, later that evening it warmed up to 41 degrees. Winter in Juneau!
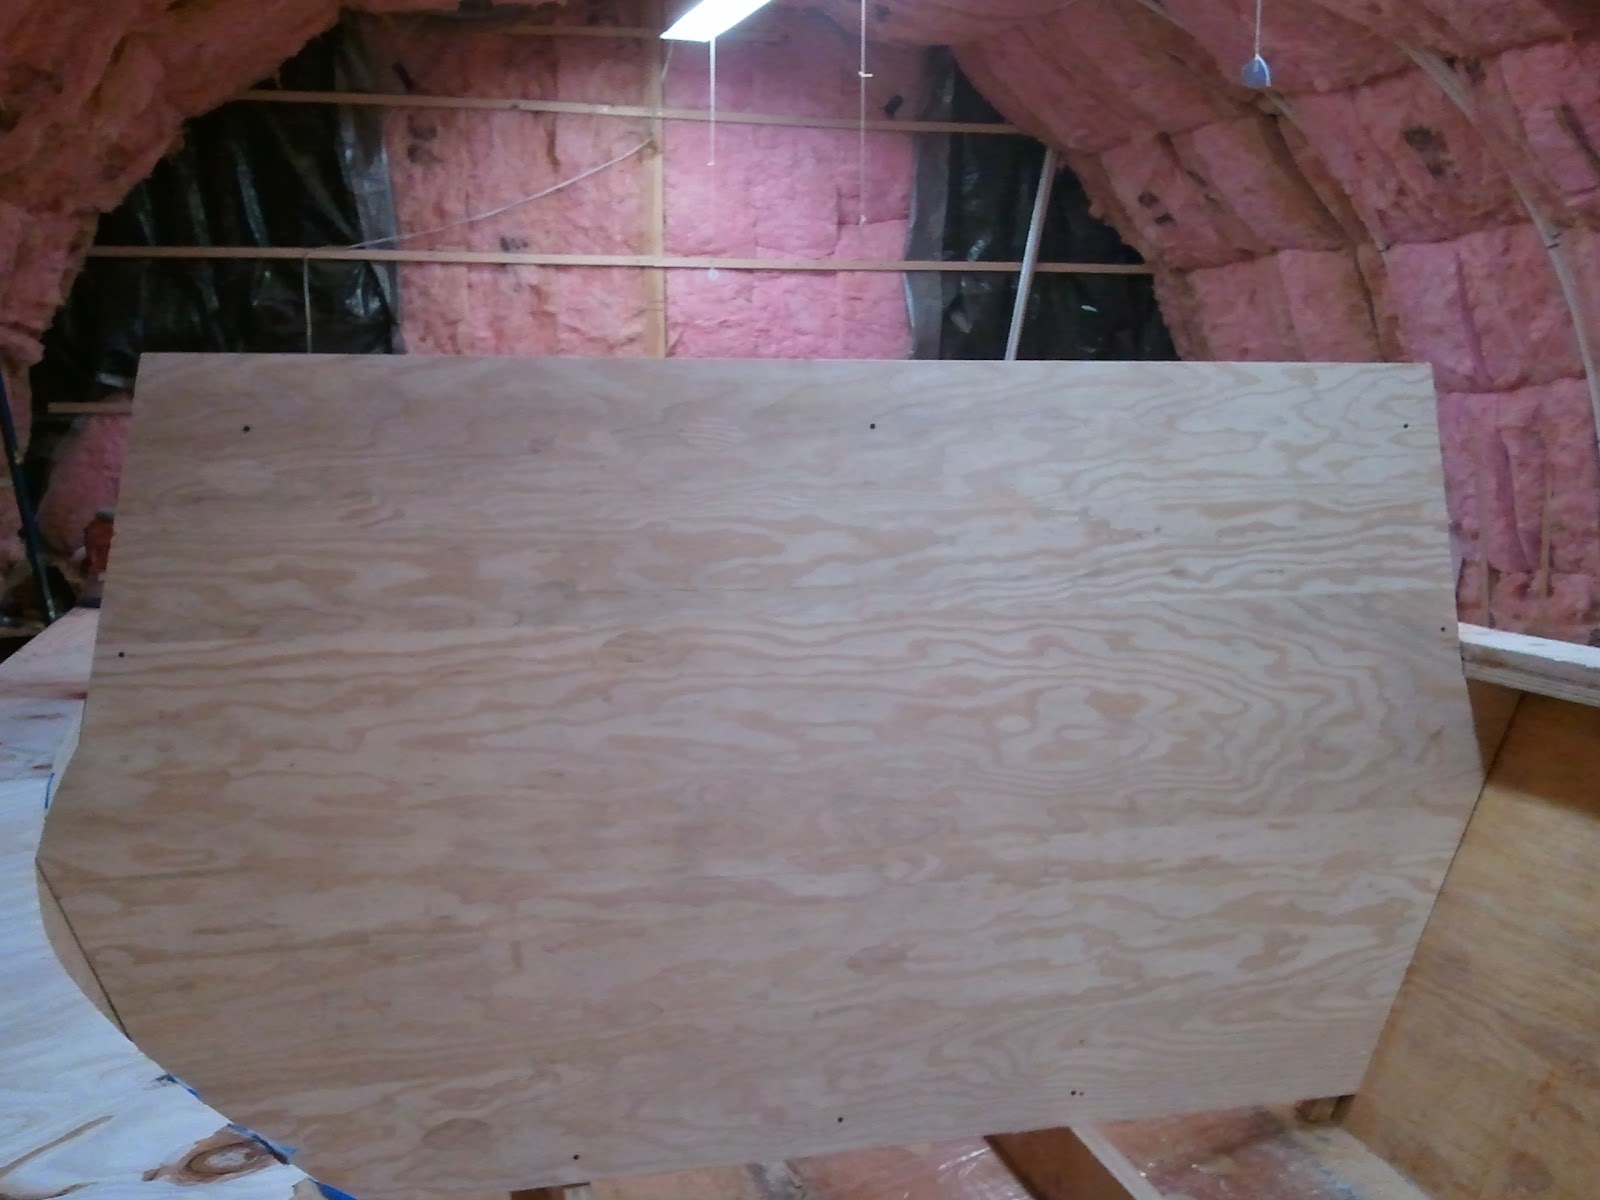
Once the pattern was transferred to a sheet of 1/2" ply then the cutting began. A large hole was cut in the middle to play the part of a doorway between the cuddy and the cabin. Mine will not have a door, just a simple curtain.
Next was the supports for the bulkhead. I initially contemplated using 1x4's but switched to 2x4's for the added strength. It's more weight that I'll try to shave off elsewhere, but I'm comfortable with it here.

You'll note the 2x4's don't go all the way around. Those areas without will be epoxied to the hull. After a little bit of adjustment with the sander this half of the bulkhead made a nice snug fit and it was on to the front side of the bulkhead.
I used the jig and the same patterns as the hull is basically the same shape this close to the previous layout for the first bulkhead, however it is a bit narrower so the ease of use of the patterns becomes obvious. Remove the screws holding the patterns to the jig, move the patterns in a skosh and put the screws back in. Ta da! Cut out the new bulkhead piece and slip it in place. I traced the outline of the existing bulkhead and doorway on it and I'll trim those out tomorrow.

You can just barely see in the upper of the two photos a gap between the side of the bulkhead and the shelves. That 1/2" gap is for the upper sides of the cabin and cuddy. I could butt those sides against the bulkhead, but this method adds more structural strength and more naturally ties things together. However it did have an unexpected consequence. The shelves have a very slight curvature at the bulkhead and since the bulkhead is square I'm going to have to trim the bulkhead just slightly to allow enough room for the plywood to fit it. I'll do that tomorrow.
8 Hours