Tuesday, February 28, 2012

Day 146 - The wiggle test

Well, further progress was made on the cuddy roof tonight. All of the ribs have been cut and placed and I even allowed for a hatch at some point in the future. I laid in one of the 1/4" ply strips that will run along the side, but there's so much stress on it that I've decided to install those pieces only when I ready to epoxy them down. I'm not sure they'd survive being bent that severely twice.


So tomorrow I'll uninstall the ribs one set at a time, epoxy them and put them back in place. The top of the rest of the plywood will also get a coating. Then Thursday I'll cut and install the insulation and the top layer of plywood.

The rest of tonight was spent ripping more one inch strips of 1/4" ply for the cabin roof. Don't know if I'll have enough, but since I'm set up for it I figured I might as well take advantage.

Oh, and the wiggle test? I discovered tonight that any one inch strip of plywood with a partial football in it (a football is the shape of the patch of wood that is inserted in the layer of ply after a knot or defect is cut out) will break at that football if shaken in that area. Looks good on the surface, fails the strength test.

3 Hours

Day 145 - Try again

Today was cool, I bought a new tool!

Yep, I've been trying desperately not to buy a table saw, but I finally had to do it. I needed to rip a bunch of one inch strips of 1/4" plywood and while Mark Petz was willing to help out with his I decided it was time to just bite the bullet.

So down to my favorite store. I'd done my research and decided which one I wanted to buy, but when I got there they didn't have any. <grrr> So much for the web site being accurate. Smartphone to the rescue, research the table saw that cost $100 less or the one that cost $100 more. Grit my teeth and buy the more expensive one. Generally you get what you pay for and I hope so in this case.

Went back to the shed and got to work. I cleaned up the scarfs from yesterday and put the panels back up temporarily to get them out of the way. Still haven't figured out windows yet.

Unpacked the new saw, read the instructions (I know, I know, so take away my man card!) and got to work making sawdust. 20 or so strips later I had enough to get started on the cuddy roof.

My plan is to create internal ribs between the two 1/4" panels. Now because the roof is curved those ribs have to bend and trying to get anything thicker than 1/4" to bend would deform the roof. So I'll be laying down four strips of the 1/4" for each rib to get the thickness to match the insulation.

The first set of strips was cut and temporarily screwed in place up at the cabin wall. Then I tried to figure out how to get a strip down each side. I tried several different ways and I think I've finally got it figured out. I'm going to cut and fit all the rib pieces leaving them one inch shy of the edge. That will give me something to attach the side strips to and they'll bend correctly if I stand them on edge.

That's the theory anyways, we'll see how it works out. :-)

I got two ribs done tonight. The rest will go on fairly quickly tomorrow and then I'll do battle with the edge strips. I'll pull them all apart and epoxy everything, then the insulation can be cut to fit and the top layer of 1/4" plywood added.


3 Hours

Sunday, February 26, 2012

Day 144 - Left turn

Today I did almost nothing I'd planned on last night.

I decided to start today by cleaning up the cuddy roof. The temporary vertical side braces were removed and the all four edges of the roof were planed down and then sanded smooth and even. A little trimming was done at the forward corners to even them out. And all the screws and washers were removed.

After putting the vertical side braces back on I started working on the upper sides panels. Two panels were cut to vertical width plus a little for the fudge factor. The angle was cut at the back and then one at a time they were lifted into place and lined up to readjust that angle so that it properly hits the upper corner of the rear cabin wall. The panels were held in place with one screw at the vertical brace and one screw at the top edge into the rear cabin wall. A small wooden brace was attached to the inside of the lower side panel to help hold the two panels in alignment. A little cutting had to be done at the lower forward corner to fit around the stuff there.

Next up was the extension to those upper panels. From the front to the back they're almost nine feet so I cut a triangle shaped piece and the appropriate scarfs then put everything back up again.


Gets bigger by the day!

Now those vertical braces will go eventually so there'll need to be bracing for the roof and the sides. There's a number of things that will be put in play to help. One, the forward windows will help as there will be three panels. Two, there will be a wood strip doubler that will run the full length of the upper edge that the roof will attach to. Three, during the construction of the roof there will be three "stringers" run underneath the roof to help it acquire its' shape. But the most important will be the arched brace that will be installed at the front and that's the other piece I worked on today.

Originally I was going to make it from doubled up 3/4" plywood but a little inspiration struck. If I was going to use two pieces of the 3/4" ply, why not cut them arched on the bottom, separate them and put a piece of 3/8" plywood on the bottom? That provides more support to the side panels and roof, but better yet give me a place to run wires side-to-side.

Brilliant! :-)


Last for the night was epoxying the side panel scarfs. Typical stuff, soak the joints with lots of epoxy, then add slightly runny peanut butter and screws and washers.


Tomorrow I'll clean these up. I haven't figured out the windows yet, so these won't get fiberglass just yet. No point in fiberglassing areas you're going to cut out and throw away.

Hopefully I'll get to work on the cuddy roof tomorrow as well.

9 Hours

Day 143 - Okay...

NOW it's big. :-)

A ton got done today, a long one, I'm tired, so this will be short.

After getting the sides installed in the cuddy yesterday, the first thing today was to get a start on the roof. I decided to see if I could do this with just a center brace running fore and aft. I'm not doing anything crazy with compound angles so this seemed doable. One 2x4 with two angles cut at the ends and screwed in place and we're off!

One inch wide doublers were cut next and glued and screwed to the inside of the cuddy sides to provide for more epoxy and screw surface.


Next I set a piece of 1/4" plywood up on top, lined it up against the back arch, drew and cut to lines for the sides and then cut a scarf with the 10" saw I rented this morning. The same one I used when I started this project way back when!


After epoxy, peanut butter and screwing the first piece of plywood down he same was done with a second piece.


Continuing the sides on towards the back was next. But I'd used up all my washers, plus I needed insulation (yes, I've decided to) so a trip to Home Depot was in order. I was fortunate to find some one inch thick sheets of EPS foam with a covering on both sides so I bought enough to do both the cuddy as well as the cabin roof.

Side measurements for the length, the angle at the back and fitting cuts were made before these too were epoxy, peanut butter and screwed into place.


Now the joint between the two side pieces is a butt joint so it required a temporary wood backer strip. Excess peanut butter was pushed into the gap and after sanding tomorrow I'll cover the outside of the joint with a strip of fiberglass. Once that cures a strip will go on the inside.


All of a sudden this thing is looking HUGE! I can no longer look over the sides into the boat and all this vertical work is quickly filling up the shed volume. Tonight when I stepped back I was truly struck with just how large it really will be. :-)

Tomorrow I'll continue work on the cuddy roof. I need to build up a structure of ribs across the top and along the edges, fit the foam and put a second layer of plywood on the roof.

I also need to cut scarfs on all my remaining 1/4" plywood. I think I have enough pieces that I can make at least one 4x8 sheet! I also need to scarf the 1/2" plywood for the upper sides. Those pieces will be longer than eight feet.

Very long, busy and productive day.

12 Hours

Friday, February 24, 2012

Day 142 - Screws and washers

are back in play again.

I took part of the day off from work to try to get a jump on the weekend. I spent part of the time visiting the local outboard dealers. Not sure which motor I'll go with yet, but I've time to ponder it.

Made a stop at Valley Lumber and bought the last of the their 1/2" and 1/4" marine plywood. Should be enough. We'll see. After reorganizing the single large pile of plywood pieces leaning against the wall into separate piles of the same thickness plywood I hauled the new into the shed.

My original plan for the sides of the cuddy and along the cabin was to cut two eight foot strips of 1/2" plywood and scarf them together lengthwise then somehow manhandle them in and out of the boat scribing and cutting as I went. After hauling the 1/2" sheets into the shed I realized just how stupid an idea that was.

So, Plan B. Since a single strip of plywood will reach from the front of the cuddy, around the side and just past the forward cabin bulkhead I started with that. There were three angles to be concerned with; one, the angle of the side to the shelves (12 degrees); two, the angle of the sides to the roof (changing from 14 degrees to 24 degrees); and three, the angle the lower sides panels and the upper sides panels meet at (6 degrees each). I cut the first panel square, hauled it into the boat and pounded it into place; it's a real tight fit!


In and out, in and out, at least half a dozen times measuring, scribing and cutting. The other challenge was the curve in the hull; up near the bow it gets pretty significant and the only way to push the side panel up against the shelf was by wedging with a 2x4 from the other side. After much work I was finally able to step back and look at what the new line looks like.


I think I'm going to like it!

Obviously doing the second side panel went much faster than the first. I traced the original panel and then epoxied the first panel in place and liberally used screws and washers into the shelf to hold it in place and force it to shape with the angles.

I then cut out the second panel and with some minor trimming, it too was wedged and screwed into place.


Once the 2x4 was pulled out the sides bent a little more inwards. There's not as much inward slant at the bow as I thought there would be so there's a gap I'll have to fill. No big deal, it's not structural, and I can't throw a cat through it, so epoxy solves all!


Port.


Starboard.


Looking forward over the top of the rear cabin wall.

I think I'll start working on the roof of the cuddy tomorrow. To insulate, or not to insulate, that is the next big question. I'm going to have to start thinking about getting light inside these spaces as well. Hmmmm...

6 Hours

Thursday, February 23, 2012

Day 141 - The shortest day

to date.

Only had time for one thing tonight. I mixed a small batch of epoxy and filled the weave in the fiberglass on the floor of the cuddy.

.5 Hours

Wednesday, February 22, 2012

Day 140 - Back in the cuddy again

Amazing how much time I'm spending working in the cuddy. Hopefully this isn't a view into the future for the cabin. :-)

I worked on finishing the floor tonight. I had epoxied in the plywood floor and roughly filled it in around the edges, but never finished it with all the other work going on around it.

I spent a fair amount of time sanding the area smooth and knocking off the small blobs of peanut butter that had accumulated from all the work done earlier. After a thorough sanding and vacuuming I made a runny batch of peanut butter, poured it in the low spots along the edges of the plywood and smoothed it level.

To give it some time to start to set up I used the extra peanut butter to both fill more holes and also fillet and fiberglass the joint at the port side deck-to-forward cabin wall.

Multiple small batches of epoxy were up next as I coated the plywood floor, laid in a piece of 7oz triax and carefully coated the dry spots.


The left over epoxy was used to coat various pieces of bare wood, mostly in the rear deck area.

I spent some time doing some measurements in preparation for the installation of the sides. While it's simple in concept I think it will be a little more difficult in execution. Much to think about for the next couple days.

After trimming the green glass left over from yesterday I built and installed two braces to be used to support the vertical side panels.


Won't be much time to work tomorrow night, but I want to get the cuddy floor finished.

3.5 Hours

Tuesday, February 21, 2012

Day 139 - And forward again

Moving forward tonight I worked on the arch support for the forward edge of the cuddy roof. This one I had all figured out a while ago.

Started out by putting a screw a the exact side-to-side center of the arch I installed yesterday, then ran a string from that screw forward to the tip of the bow and taped it in place. I measured the width of the opening at the forward edge of the cuddy and subtracted 1/2" on each side for that measurement. Next was measuring from the joint between the top of the vertical wall of the rope locker and the bottom of the forward deck to the string line.

I cut a piece of 3/4" plywood to those dimensions and marked a vertical line exactly in the center. Then I took it into the boat and lining it up with the top center of the arch from yesterday put a screw in it to hold it in place and traced the top of the arch. This way I'll have a consistent curve all the way from the cabin wall forward.

Now this piece is meant to slant back towards the bow so I measured from that slant to the angle of the string, set the skilsaw to that angle and then cut to the line.

Made some epoxy and coated all the necessary surfaces, made peanut butter and did same, then screwed this new piece in place. Fillets and fiberglass were next and a 10oz strip was put on the front side of the new piece.


The string is about 1/4" away and the angle might not be quite right, but the height's not critical and the angle can be fixed if need be with a little sanding. This wood stuff sure makes fixing things easy. :-)

A fillet and a 10oz fiberglass strip was put on the back side of the arch I installed yesterday.


And the left over epoxy was used to put fiberglass strips on the sides of the rear cabin panel joints that didn't get done before.


Caution! Weird photo ahead! This is approximately where the cuddy roof line will be when installed.


Next up is probably the sides, but I'll have to do some scarfing to get the right size pieces so I think I'll wait to start those on Friday (I have the day off). There's lots of other things that can be done in the meantime, so tomorrow will be a day for small finishing details.

3 Hours

Monday, February 20, 2012

Day 138 - What was once behind

is now before.

I've been puzzling for the past few days trying to figure out how I was going to install the arch piece on the forward cabin wall that supports the cuddy roof. Several crazy ideas floated around in my head, but it wasn't until tonight when I had to figure something out that the solution presented itself.

I was cleaning up all the tools and stuff from yesterday, pulling screws and cutting green epoxy and thought I was done and then looked up at the doubler for the arch on the rear cabin wall and saw the four screws up there. I went to take them out and the light went on in my head!

Duh. The solution is so simple it's embarrassing. Using 1/2" plywood left over from building the hull (there's a reason I kept the expensive stuff) cut two identical arches except one extends 1-1/2" below the line that would connect the end points of the arch. Epoxy the arches together, put some peanut butter on the top edge and the top 1-1/2" forward face of the cabin wall, then set the arch on the edge and screw it to the face.

Voila!


I will put a fillet and fiberglass on the back side of this tomorrow night and it's not going anywhere!

In one fell swope I got a huge amount of strength and support for the cuddy roof, plus a one inch wide surface to attach it to. This is awesome!

With the arch in place tomorrow I've got to work on getting the arch at the forward end of the cuddy measured out. I think I've got a plan for this already though, won't need more inspiration. Gotta save that up, doesn't happen very often. :-)

3 Hours

Sunday, February 19, 2012

Day 137 - Splitting the space

Today was a busy day with a big hole in the middle of it.

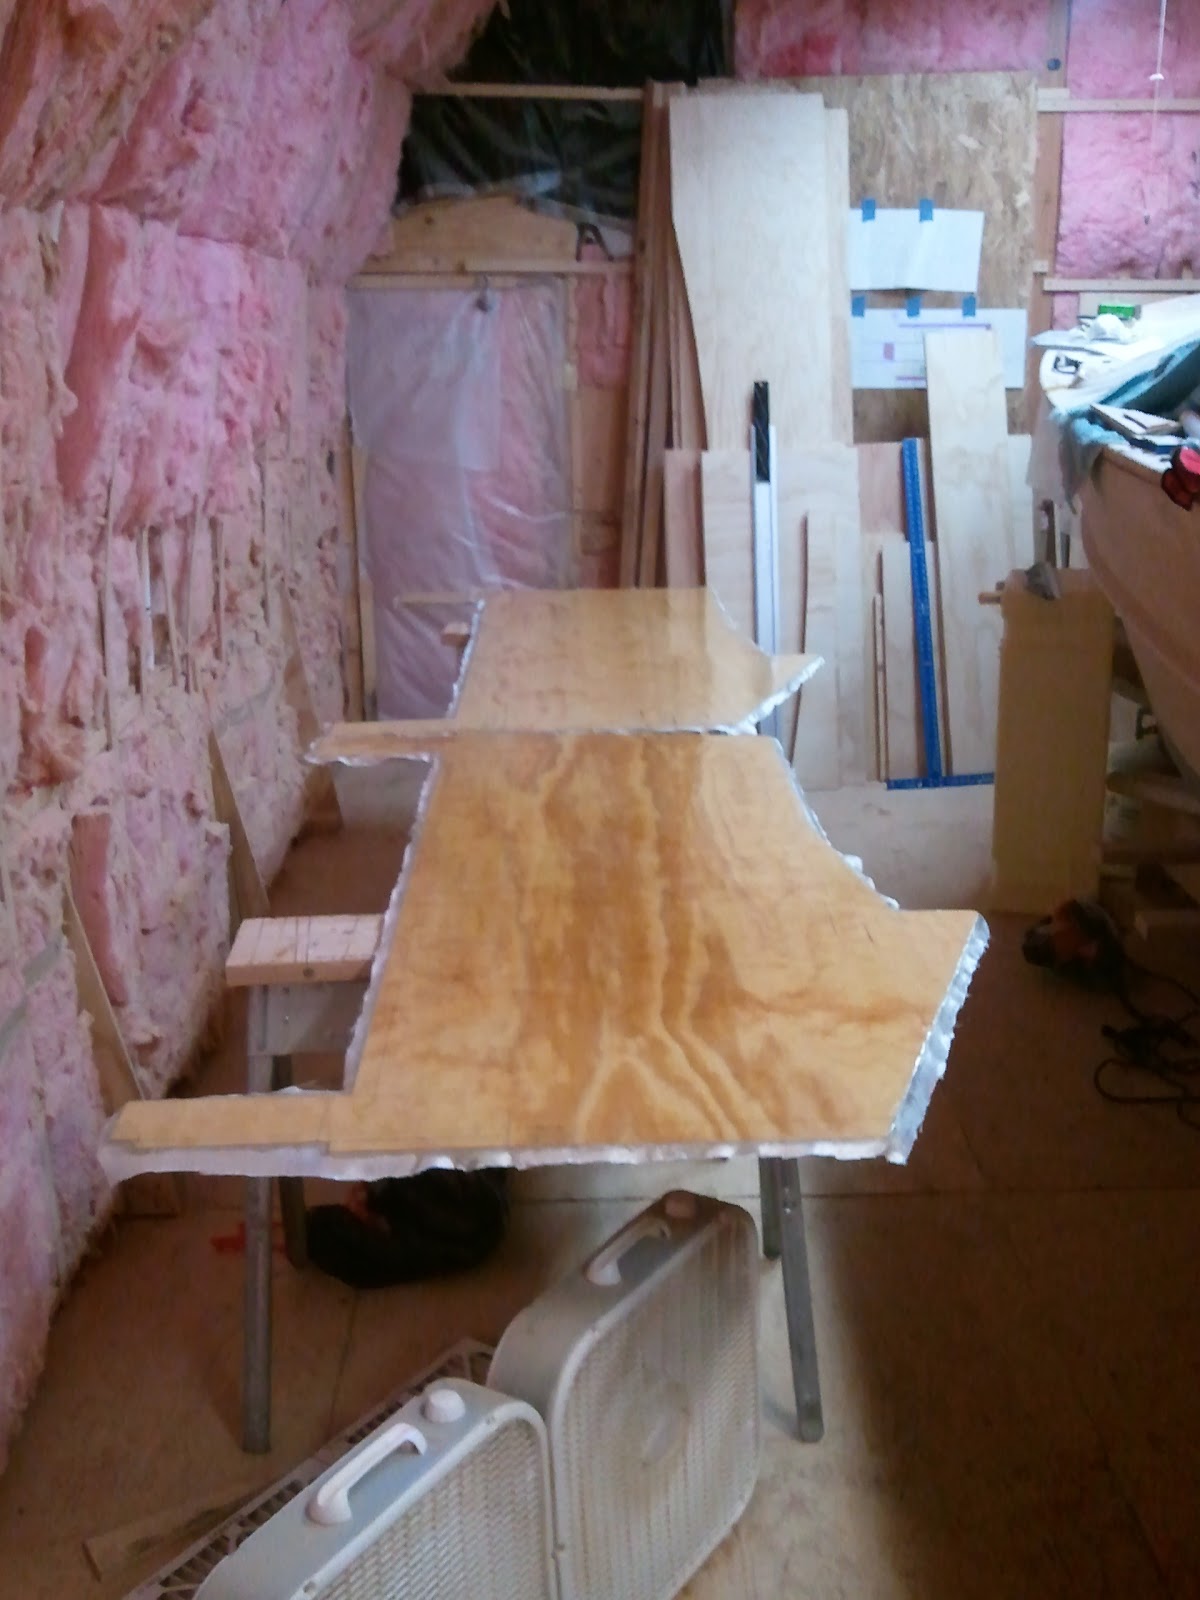
First off this morning I trimmed the green fiberglass around the edges of the panels for the rear bulkhead and then grabbed the sander. So far I've used nothing but 60 grit and today was no exception. I sanded both sides of the both panels smooth.

Then I moved into the boat and sanded the rear deck. The fairing in the low spot got leveled out, the epoxy bumps above the screw holes got knocked flat and I found one seam that wasn't quite smooth.

And then it was time to install the rear cabin panels. I set them up on the shelves, one on each side. Made some epoxy and coated the edges that I wouldn't be able to get to later, painted the edge of the deck and the face of the doubler to go at the top of the panels. The rest of the epoxy was turned into peanut butter and the edge of the deck, the top of the deck supports, stringers and tank bulkheads got a coat. The rest of the peanut butter was spread on the doubler.

The starboard panel was set in place and loosely braced and then the port panel was set in place and lined up and all the bracing locked down. Screws were used to pull the panels tight against the deck and on the starboard side I had to use two braces to force the panel into contact with the deck.

The doubler was screwed and clamped into place at the top, and at the bottom a small piece of scrap plywood was used to pull the two panels into alignment.

More epoxy and peanut butter was made and the panel-to-side joints and the panel-to-deck joint were filleted and fiberglassed.


The next trick was how to get peanut butter and fiberglass into that gap between the panel and the vertical brace? Originally the panels would have been right up against that 2x4, but by installing the belly tank the way I did, that forced me to move the panel back about an inch. I managed to get a fillet of peanut butter up in the gap, but what about the fiberglass? There was no way to paint epoxy in there and then get the fiberglass in, so I reversed the process. I grabbed a used garbage bag, put the fiberglass strips on it and painted them with epoxy. After peeling them off the bag I carefully pushed the strips into the gaps and gently worked them into place. Took some time, but worked well!


Fiberglassing the rear deck was next. Now as I told you yesterday, normally you want to epoxy the wood first and them lay the fiberglass on top, but this is such a large area that was never going to work. I started to roll out my two left over pieces of 10oz glass and wouldn't you know it, one piece was six inches short! Durn it! So I switched to 7oz triax. I cut my first large piece and carefully laid it out, smoothing it square and trimming around the vertical supports. My triax is 50" wide which still isn't enough to completely cover the deck so I cut a long wide strip and a short square piece to finish it off.

Then it was time to pour on the epoxy. I started by leaning through the transom cut out and poured the epoxy in the port corner and spread it with a brush. I kept pouring and spreading working my way starboard and forward making sure the glass stayed smooth as I went. Eventually I moved around into the cabin and continued working until I had the entire piece epoxied. I put the small square piece in the starboard forward corner, and then I put the long strip in starting at the port forward corner and working across by leaning through the cabin door. I lapped the fiberglass up the sides about two inches all the way around so I've got a real good lay out of fiberglass, 14oz, on all the deck-to-everything joints.


I needed to give this time to set up, so I went to visit a friend in the hospital and then went and got dinner. After I returned it was time to spread the layer of weave filling epoxy. It would be no problem to reach the first two feet of so of the deck from the transom and the doorway, but how to get the middle? Prior thought had the answer to that. I cut three 2x4s to length, screwed them together with a piece of 1/2" plywood and set them on the cross brace between the vertical supports.


Worked a treat! Plenty strong enough to support my weight, wide enough to be stable enough to work on and move around and all I had to do was step from the transom out onto the platform.

With that I called it a night.

Tomorrow I'll start work on the rest of the arched cabin and cuddy roof braces. I'm still working out how to figure the arch for the piece that will go all the way forward in the cuddy. I also need to purchase the 1/4" and 1/2" plywood for the sides and the roofs.

7 Hours

Saturday, February 18, 2012

Day 136 - Shiny too! (two?)

Tonight I thought I'd show you all the steps that went into fiberglassing the two halves of the rear cabin bulkhead.


After setting the two panels on the sawhorses and roughly lining them up the roll of fiberglass is unrolled from one end to the other. By doing them with a single piece of fiberglass it's a little faster and little more efficient use of the glass.


The fiberglass is carefully lifted and pulled back.


Epoxy is mixed and spread on the panel.


The fiberglass is lifted back into place. A fair amount of time is spent at this point getting rid of all the folds in the fiberglass. Because this is such a large piece of glass it's impossible to lay it back down smoothly so it must be tugged and pulled in various directions until the glass is smooth again. Then a ribbed roller is used to push the fiberglass down into the epoxy and the extra is trimmed off around the edges. If you don't get rid of that extra fiberglass then its weight will cause the fiberglass to bend over the edges, lifting it away from the wood.


You can see areas that are white; those are areas without enough epoxy to soak into both the wood and the glass, that will be fixed later.


The process is repeated for the second panel.


Epoxy is brushed on those white areas providing enough to both continue to soak the wood as well as wet out the fiberglass. The trick is to put on just enough to wet out the fiberglass so you can see the weave if you look at it from an angle, but not so much that you fill the weave. If you've done that, it's too much and the fiberglass will want to float in the epoxy instead of staying on the plywood.


After three hours the epoxy has set up enough that a second coat can be added to fill in the weave of the fiberglass making it shiny and smooth.

Now between the initial epoxy work and the second coat I began work on the rear deck. First up was pulling all the screws in the rear deck and the side decks, a good vacuuming and then sanding. The joints where the three panels for the rear deck came together needed some sanding to smooth and level them. Then peanut butter and fiberglass was applied to the hull-to-deck joints. Epoxy was put in all the screw holes with a syringe until they stopped soaking up the epoxy and topped up.


If you look closely you can see that the large rear deck panel still has some bend in it (right about the middle of the picture) even with the support that was glued to the hull to help lift it up. The only way to level that area of the deck was to fair it.


A mixture of epoxy, microballoons and silica was poured into the low spot and then my long straight edge was used fill in, level and smooth out the mixture.

I still had a little peanut butter left so I used it to do the joint between the side deck and the forward cabin bulkhead.


And I used the little bit I could scrape out of the cup to glue in the wedge that's necessary to properly position the port side rear cabin bulkhead.


Tomorrow I'll sand the rear deck smooth and then install the rear cabin bulkhead pieces. That will involve peanut butter between the edge of the rear deck and bulkhead, spacing and bracing the two panels, then fillets and fiberglass on both sides of the panels and along the deck. Finally, I'm going to fiberglass the rear deck. This will be a real trick as it will take two pieces of glass to fill the space, plus the space is six feet by seven and a half feet so getting the second layer of glass in and the final coat of epoxy to fill the weave. I've got an idea how to manage it, but I'm pretty sure it won't be any fun. :-)

9 Hours