What I thought was a problem with the new piece of rear deck I cut and laid in last night on further investigation turned out to actually be a problem with the two pieces I installed a couple days ago. The port side piece at the forward corner has a downward curve that looked like the new piece was sitting high. A straightedge confirmed the problem. Now I have to figure out what to do to fix it. I suspect it will be two-fold solution; one, I can try to push that bend upward which will be difficult being as it's 3/4" plywood and two, I can fair the low area with thickened epoxy to level it out. We'll see how it turns out when I start installing all the pieces I have now.
I took the rear deck piece out and then removed enough of the braces to take out the two halve of the rear bulkhead. First I trimmed the starboard edge to make the gap between the shelf and rear bulkhead wide enough to fit the 1/2" plywood that will make up the sides. I needed to trim out about 1/4". Then I stacked the to two pieces back to back on the sawhorses, carefully lined them up and clamped them together. I laid out the door to be 22" wide and then very carefully measured how high I needed to leave the space above the belly tank for the hoses and added those lines. Then it was time to cut the door out with the skilsaw.
As I will have a curved roof the next step was to lay out and cut a doubler to go at the top of the bulkhead.

I've been planning this for weeks and it, like most decisions, has a lot of options. Some folks have gone with an arch as extreme as 10" at the peak, but that really makes the roof area unusable so I've decided mine will be 4". But how to plan that bend? As you can see in the picture there are a whole series of nails and those aren't random. I used my copy of Microsoft Visio to help me figure out the distances from the centerline and the heights above the bottom edge. Those numbers are transferred to the plywood, nails are driven, the batten put in place and the line drawn. After removing the nails the curved line is cut with the skilsaw.
I then placed this arch on the rear bulkhead pieces and traced the line and cut again with the skilsaw.
The three pieces, rear deck and bulkhead, were set up in the hull and set in place, all the bracing and spacers were put in place and finally the doubler was screwed in place.


These pictures were taken with my back against the forward bulkhead. Now the top of the doubler and the top of the bulkhead don't quite line up, nor are they smooth, but a quick once over with the sander will solve that problem.


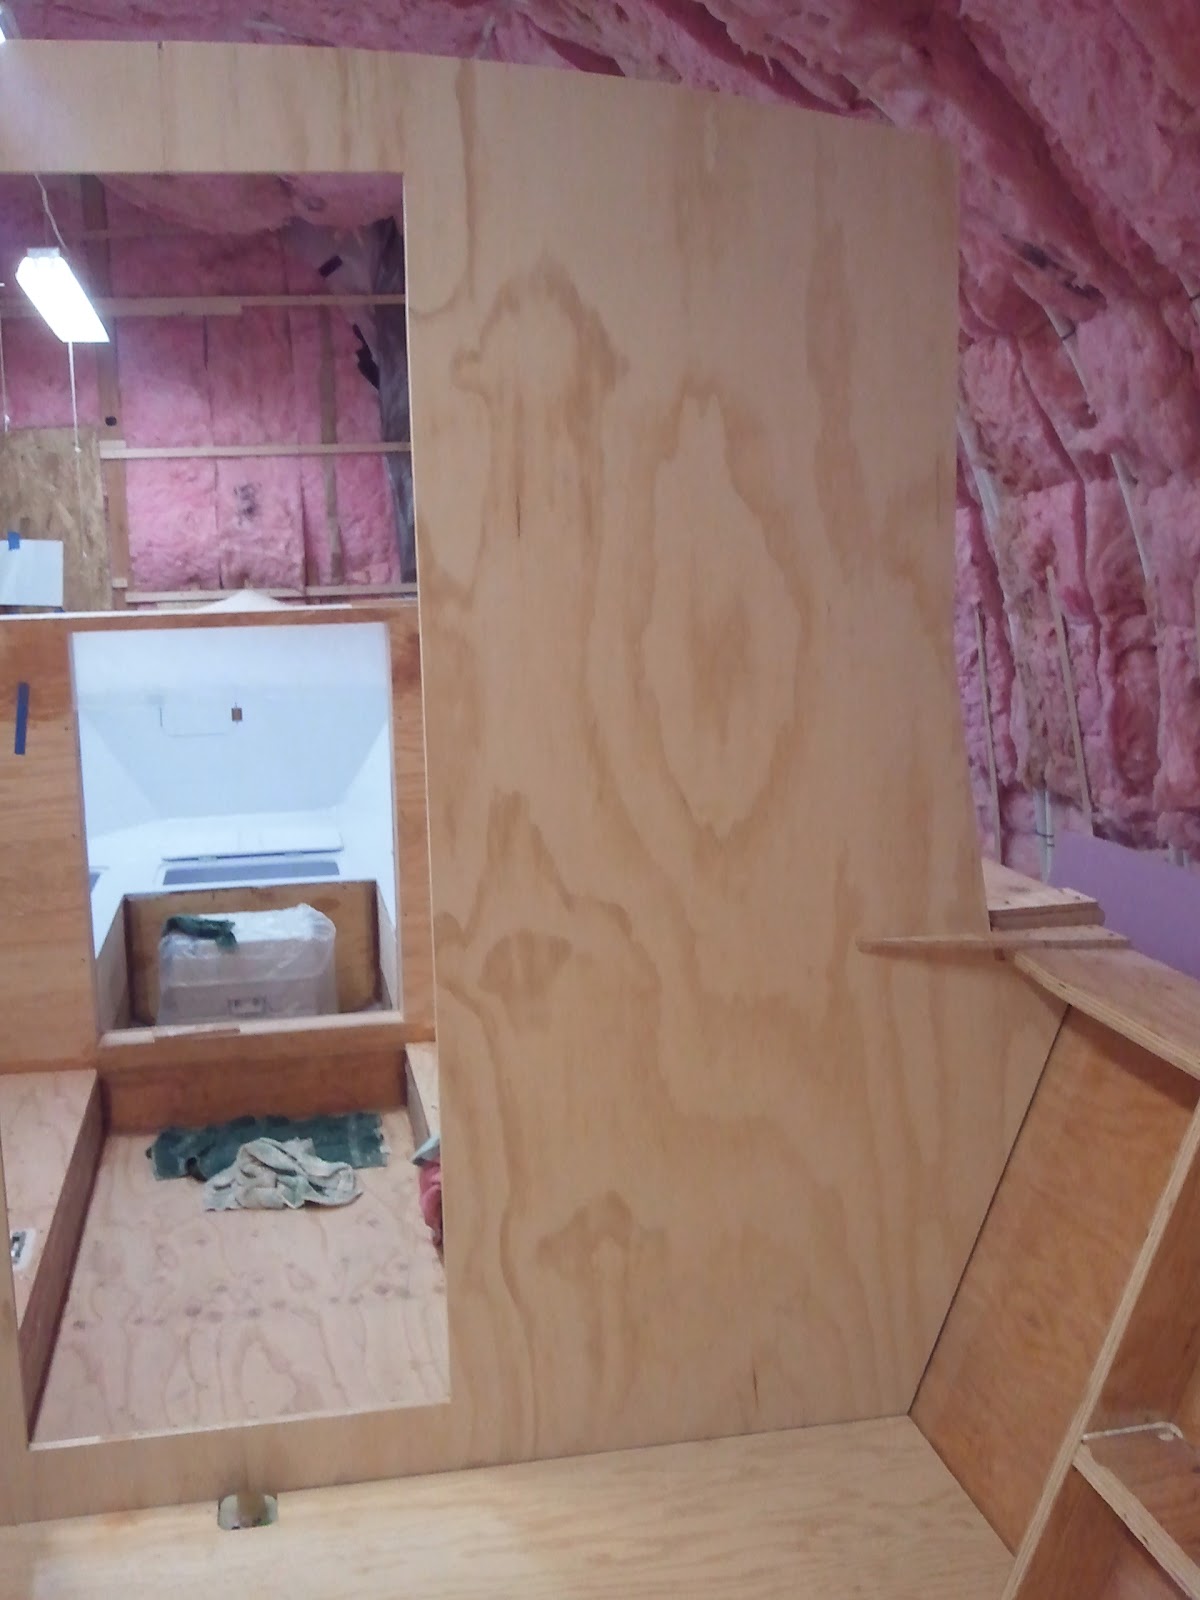
As promised yesterday, here are shots of the connections into the belly tank. Left to right in the upper photo; vent line, filler line and fuel line. In the lower photo you can the the fuel sender (or gas gauge). That hole cut in the rear deck is for access to the sender, both to wire it up and if I ever need access to it. I'll put a piece of wood to go over the hole and I'll seal it in place with 3M 5200. If I ever have to get into it, it'll take much work and probably some cursing ;-), but it could be done.

Finally this is the view from the rear. I was thrilled when I put the digital level on the bulkhead to find it's exactly vertical. All the effort put into getting it right early on is consistently paying off now.
I'm very pleased with the doorway. Even though I'm 6'3" tall I can easily step through the opening with only a moderate ducking of my head. There's also plenty of headroom in the cabin. In my boots I think I'll have a little more than three inches of headroom.
Next step? The port side rear deck forward corner needs to be raised. Support strips need to be epoxied to the hull. The front rear deck piece needs to be epoxied to the stringers and vertical supports. The rear bulkheads need to be fiberglassed on both sides, then installed in the hull with fillets and fiberglass. Fillets and fiberglass need to be put in all the way around the deck. That low area of the deck needs to be faired level. And then the entire rear deck needs to be fiberglassed.
Whew!
3.5 Hours