
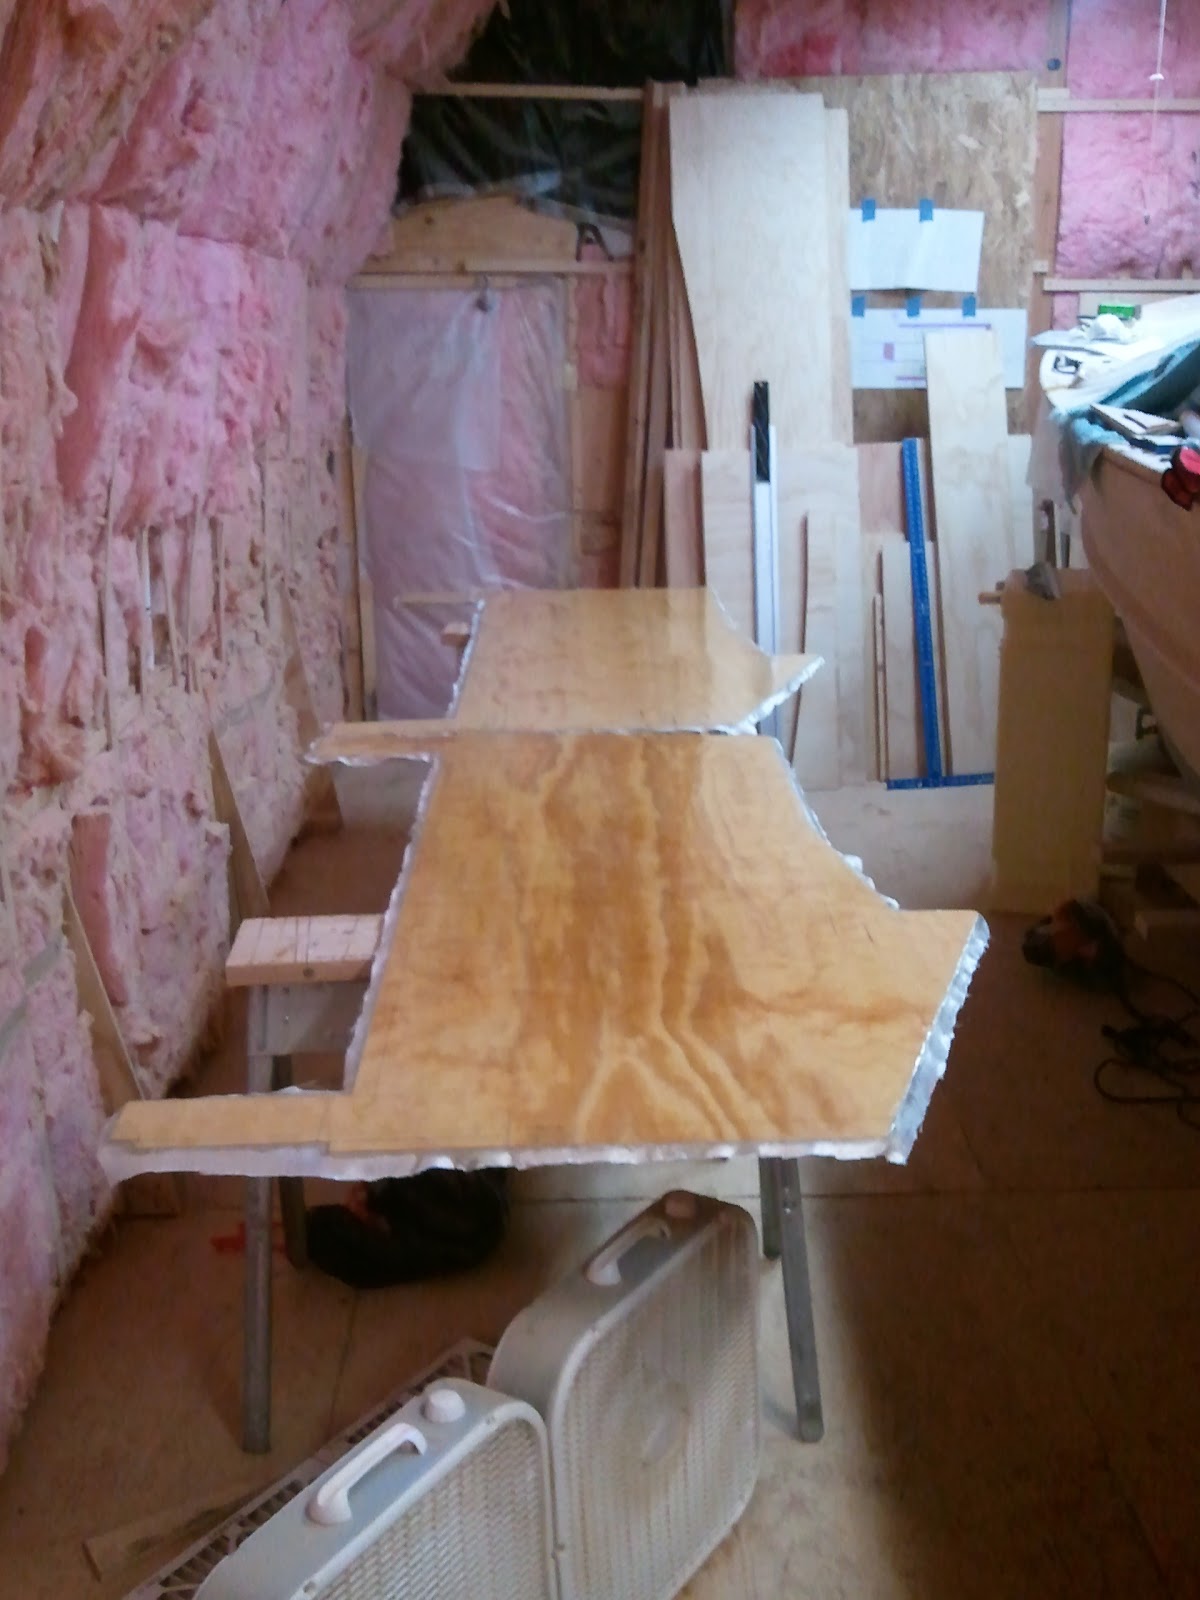
After setting the two panels on the sawhorses and roughly lining them up the roll of fiberglass is unrolled from one end to the other. By doing them with a single piece of fiberglass it's a little faster and little more efficient use of the glass.

The fiberglass is carefully lifted and pulled back.

Epoxy is mixed and spread on the panel.

The fiberglass is lifted back into place. A fair amount of time is spent at this point getting rid of all the folds in the fiberglass. Because this is such a large piece of glass it's impossible to lay it back down smoothly so it must be tugged and pulled in various directions until the glass is smooth again. Then a ribbed roller is used to push the fiberglass down into the epoxy and the extra is trimmed off around the edges. If you don't get rid of that extra fiberglass then its weight will cause the fiberglass to bend over the edges, lifting it away from the wood.

You can see areas that are white; those are areas without enough epoxy to soak into both the wood and the glass, that will be fixed later.

The process is repeated for the second panel.

Epoxy is brushed on those white areas providing enough to both continue to soak the wood as well as wet out the fiberglass. The trick is to put on just enough to wet out the fiberglass so you can see the weave if you look at it from an angle, but not so much that you fill the weave. If you've done that, it's too much and the fiberglass will want to float in the epoxy instead of staying on the plywood.
After three hours the epoxy has set up enough that a second coat can be added to fill in the weave of the fiberglass making it shiny and smooth.
Now between the initial epoxy work and the second coat I began work on the rear deck. First up was pulling all the screws in the rear deck and the side decks, a good vacuuming and then sanding. The joints where the three panels for the rear deck came together needed some sanding to smooth and level them. Then peanut butter and fiberglass was applied to the hull-to-deck joints. Epoxy was put in all the screw holes with a syringe until they stopped soaking up the epoxy and topped up.


If you look closely you can see that the large rear deck panel still has some bend in it (right about the middle of the picture) even with the support that was glued to the hull to help lift it up. The only way to level that area of the deck was to fair it.

A mixture of epoxy, microballoons and silica was poured into the low spot and then my long straight edge was used fill in, level and smooth out the mixture.
I still had a little peanut butter left so I used it to do the joint between the side deck and the forward cabin bulkhead.

And I used the little bit I could scrape out of the cup to glue in the wedge that's necessary to properly position the port side rear cabin bulkhead.

Tomorrow I'll sand the rear deck smooth and then install the rear cabin bulkhead pieces. That will involve peanut butter between the edge of the rear deck and bulkhead, spacing and bracing the two panels, then fillets and fiberglass on both sides of the panels and along the deck. Finally, I'm going to fiberglass the rear deck. This will be a real trick as it will take two pieces of glass to fill the space, plus the space is six feet by seven and a half feet so getting the second layer of glass in and the final coat of epoxy to fill the weave. I've got an idea how to manage it, but I'm pretty sure it won't be any fun. :-)
9 Hours